1. Overview
2. Indentation
3. Importing modules
4. Methods
5. Type of values
6. Mutable and immutable object
7. Classes, Constants, and Auxiliary Functions
7.1 Classes
7.2 Constants
7.3 General purpose auxiliary functions
7.4 Deletion of class instances
8. Text Editor
9. Languages and encodings
1. Overview
trueSpace (tS) objects consist of C/C++ simple variables, structs, pointers, arrays of them, etc. For example, a cube object is pointed to by just a simple unsigned int type variable. The tsxAPI function that generate a cube is defined in tsxAPIxx.doc as follows. It actually returns a pointer to something.
----- Excerpt from tsxAPI66.doc -----
tsxCreateCube
PURPOSE	Create a cube aligned with the World axes.
SYNTAX	TSXAPIFN tsxPOLYHEDRON* tsxCreateCube(int nbrSections,float x,float y,float z)
PARAMETERS
nbrSections	int: resolution
x	float: X dimension
y	float: Y dimension
z	float: Z dimension
RETURNS	tsxPOLYHEDRON*
When you treat a cube object in your Python script, you can simply assign the value of the object pointer you got at creating or selecting the cube to a simple Python variable. And if you want to get the position of the cube, to move it around, or to get a list of vertices, then just pass the Python's int type variable to those tsxAPI functions.
However, they don't give you a list of vertices in Python list or dict object. The ptsxpy does not reassemble these low-level information in C/C++ memory structures into higher-level Python objects.
################################################################
## This object-oriented code is not what the ptsxpy aims for. ##
################################################################
n = cube1.getnvertices()   # This is not ptsxpy
for i in range( n ):
    vertex1 = cube1.getVertice( i )   # This is not ptsxpy
Instead, ptsxpy bridges your Python scripts to tsxAPI with a very primitive (i.e. low-level) but faithfully conformed interface with the tsxAPI's C/C++ momory layer, but at the same time it provides you some predefined Python classes (See next section) to make it easier to read and write C/C++ structs and arrays defined by tsxAPI.
# This is a script for ptsxpy. The ptsxpy primitively handles
# lower level C/C++ memory area accessed by tsxAPI.
import ptsxpy as p

# Calling tsxCreateCube() of tsxAPI that returns an integer as a pointer
# and assigning it to Python's int object.
cube1 = p.CreateCube( 1, 1., 1., 1. )
# Calling tsxSceneAddObject() of tsxAPI that takes a pointer as the first parameter.
# The second parameter is a pre-defined ptsxpy's Python constant. It has the same
# name with one defined in tsxAPIxx.doc (and a header file tsxTypes.h) of the SDK
# for each trueSpace version.
p.SceneAddObject( cube1, e_tsxFALSE )
# Similarly, specify tsxAPI function name without prefix tsx as a method name of p.
n = p.PolyhGetNbrVxs( cube1 )
vxa1 = p.PolyhGetVxArray( cube1 )
p1 = Vec3f_p( vxa1 )  # ptsxpy pre-defined class to access struct CtsxVector3f of tS.
for i in range( n ):
    print( "vertex %2d: %6.2f,%6.2f" % ( i, p1.x(), p1.y() ) )
    p1.inc()
In other words, the ptsxpy does not define a new Python object of its own to represent a cube (consisting of vertices, faces and colors). The ptsxpy simply makes it possible to read and write the structure of a tS's cube object in a tsxAPI struct (memory area in C/C++) from a Python script. Therefore, when calling tsxAPI functions from your Python script, you need to follow the C/C++ manner of handling arguments and return values.
For example, if the type of an argument is a pointer (to any type), then you need to pass an Python int object (i.e. an integer). And in case that the tsxAPI function write 4 bytes of value to the memory area pointed by the argument, you must prepare the 4 bytes memory area before you call it and must pass the address of the area. The ptsxpy also provides classes and general purpose auxiliary functions for that purpose (see section below).
2. Indentation
In Python language, the indentation level, i.e. blank space at the beginning of each line, is significant. Indentation by 4 white spaces for each level is recommended instead of tabs or mixed number of spaces. Read also Python document, "PEP 8 -- Style Guide for Python Code".
For example, make a text file that suffix is .py , copy & paste the code below to it, and pass the file to ptsxpy.
for i in range( 5 ):
    print( "i=", i )
Please note that there is exactly 4 spaces before the "print". In Python language, the block repeated by for-loop has no end mark unlike brace in JavaScript/C/C++/C#, Next in Basics, or done in bash, etc. The indented lines means the block instead. The end of the indentation means the end of the block. It is similar also in case of while-statement, if-statement, etc.
The for-loop executes the print statement 5 times and outputs 5 lines to the console window as a result.

The code above has not manipulate trueSpace's 3D feature at all yet. It just used the console window as a standard output. You can use the window and the print statement to check your script's correctness, to monitor checkpoints in your script, to chaek tS's status, coordinates, object names, or other low level memory resources (e.g. memory dump of a C/C++ struct), etc.
3. Importing modules
At least you must import the ptsxpy module at the beginning of each script to manipulate tS features using the ptsxpy plugin. At the same time, It's recommended to specify an alias (i.e. another name) to the module.
In the sample script above, "p" is the alias of the module ptsxpy. If you don't specify any alias, you must describe full name at the point of use like the code below.
This is not recommended because it worsens the readability.
You can also import also Python modules like "import sys" or "import math" according to the needs.
4. Methods
The dot next of the alias "p" refers a member of it, and "CreareCube" is the name of a method. The parentheses following the method name means "call the method with some parameters". The code creates a cube with dimension 1.0 x 1.0 x 1.0 and each edge is divided in two (i.e each face is divided in four squares) .
The method name written after "p" is API function defined in Caligari official tsxAPIxx.doc. This site provide youa search feature for the API functions. Locate to Help-Syntax page from the menu in this web page. They are originally functions for a C/C++ language interface, but ptsxpy bridges it so that you can use the tsxAPI from your Python scripts.
5. Type of values
Any value has its type. In the code above, the "2" without any dot is an integer, and "1." is short for a float value "1.0". The type (integer, float, ...) of each method are defined by ptsxpy (and tsxAPI functions called by ptsxpy).
Is 5/2 integer? or float? It's the matter of Python language. Please read Python official document and make sure it in your code. There are also python functions that convert a type to another type like; int(), float, str(), etc.
6. Mutable and immutable object
It's Good for you to know about tuple, list, and dict in Python language. List and dict are mutable objects, and you can change (e.g. add) their element in your script.
7. Classes, Constants, and Auxiliary Functions
Some classes and constants are predefined in a text module, ptsxpydef1.py, that is imported automatically. You can use them without importing the module and without describing the module name at the point of use.
Some general purpose auxiliary functions are predefined in a module, ptsxgp to implement C/C++ functions used by classes in ptsxpydef1.py. You may explicitly import the module and may use the functions if needed.
7.1 Classes
In this code, the "Vec3f" is a class. It takes 3 float values as its parameters and returns an instance of the class in which its members x, y and z are assigned to the given value; 1.0, 2.0, and 3.0. The instance is assigned to the lefthand of the "=". The Vec3f class (and the instance) has another member, p, as an address that points an allocated memory area. In the case of Vec3f, byte length of the area is 12, and the first 4 byte is the storage for the float value, x, the second 4 bytes is for y, and last 4 bytes for z. (In addition, x86 architecture is Little Endian where the most significant byte (MSBy) is on the largest address in the 4 bytes)
Don't confuse the ".p" (referring a pointer member, p) with "p." (alias of ptsxpy explicitly defined in your scripts).
About the detail of each class, please read the ptsxpydef1.py directly. It is a plain text file.
7.2 Constants
Constants are needed for some methods to specify modes, boolean values, etc. About the detail of each constant, please read the ptsxpydef1.py directly. It is a plain text file.
7.3 General purpose auxiliary functions
General purpose auxiliary functions implements C/C++ functions used by classes in ptsxpydef1.py. You may import the module and may use the functions if needed. For example;
This code displays the byte length of a C/C++ struct defined in tsxAPI functions. (The value is differ between tS versions)
7.4 Deletion of class instances
Each class defined in ptsxpydef1.py has a destructor "__del__" in it and frees the allocated memory in the trueSpace layer by its constructor "__init__". You don't have to explicitly call destructors at the end of your script because they are automatically called. But be careful not to use already freed memory area like below:
IntArray is a class defined in ptsxdef1.py. In this example, class objects are assigned to a single variable, wk, twice. At the second assignment to wk, the destructor of the first class object is called and the allocated memory area is freed because the first wk is abandoned. As a result, p1 points an unallocated memory area and using (loading from or storing to)it causes an error or unexpected results. Following code does not use wk but also has the same problem.
In this example, both class instance are not assignd to any variable. As a result, both p1 and p2 point unallocated areas, and using them causes an error or unexpected results.
We should do:
In above case, both wk1 and wk2 remain till the end of the script or till they are assigned again, and both p1 and p2 point valid memory area. We can assign wk1 and/or wk2 again without explicit deletion if we don't use any more:
Another way is to write the script without using classes that allocates memory in the trueSpace layer:
In this case, each of p1 and p2 is not a class object but an unsigned integer that holds a 32 bit addresse for the allocated memory area. We must explicitly free the memory area allocated by ptsxgp.alloc_xxxx() functions.
8. Text Editor
You can use any text editor you like. It's more convenient to have syntax-highlighting function.
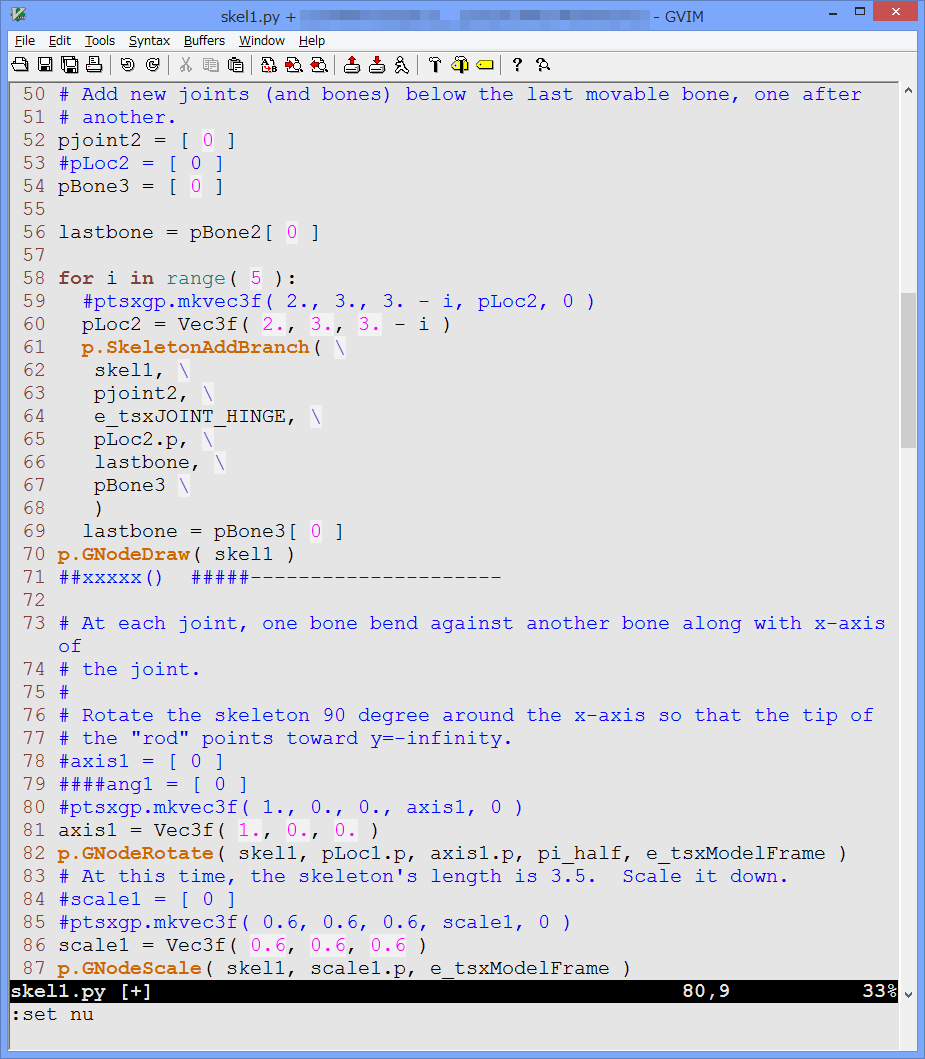
This is an example of Vim editor. You can wrote a following short text file with name like "syn1.sy" and apply it using ":so" command of vim to highlight p.xxxxx and ptsxhp.xxxxx.
(Note: This is not a Python code.)
9. Languages and encodings
You may want to use non-English languages in comments and strings displayed using print(). As long as you follow some rules, you may be able to do that. (Please note that the author cannot test for all circumstances.)
Default str type is Unicode in Python 3, and ascii in Python 2. If you use ptsxpy for Python 2, you must specify the encoding for the language in your script;
The "coding=xxxxx" in the first line allows you to use your language in the script for Python 2. Executing your Python 2 script with your non-English language without the "coding=" line will cause an error. You need not to write the line for Python 3.
However, the plugin does not support Unicode or utf-8 completely.
Using multilanguage code displays some garbling letters to the console.

That may be fixed in the future version, but the author has no clear idea.